The Gameboy Mod My Younger Self Always Wanted
The Starting Point
A while back I decided I wanted to get back into some retro mobile games because it feels comfy and gives me an excuse to do some basic resto-modding. My first target in this case was the Gameboy Advance that I’ve had since I was just a lad :3
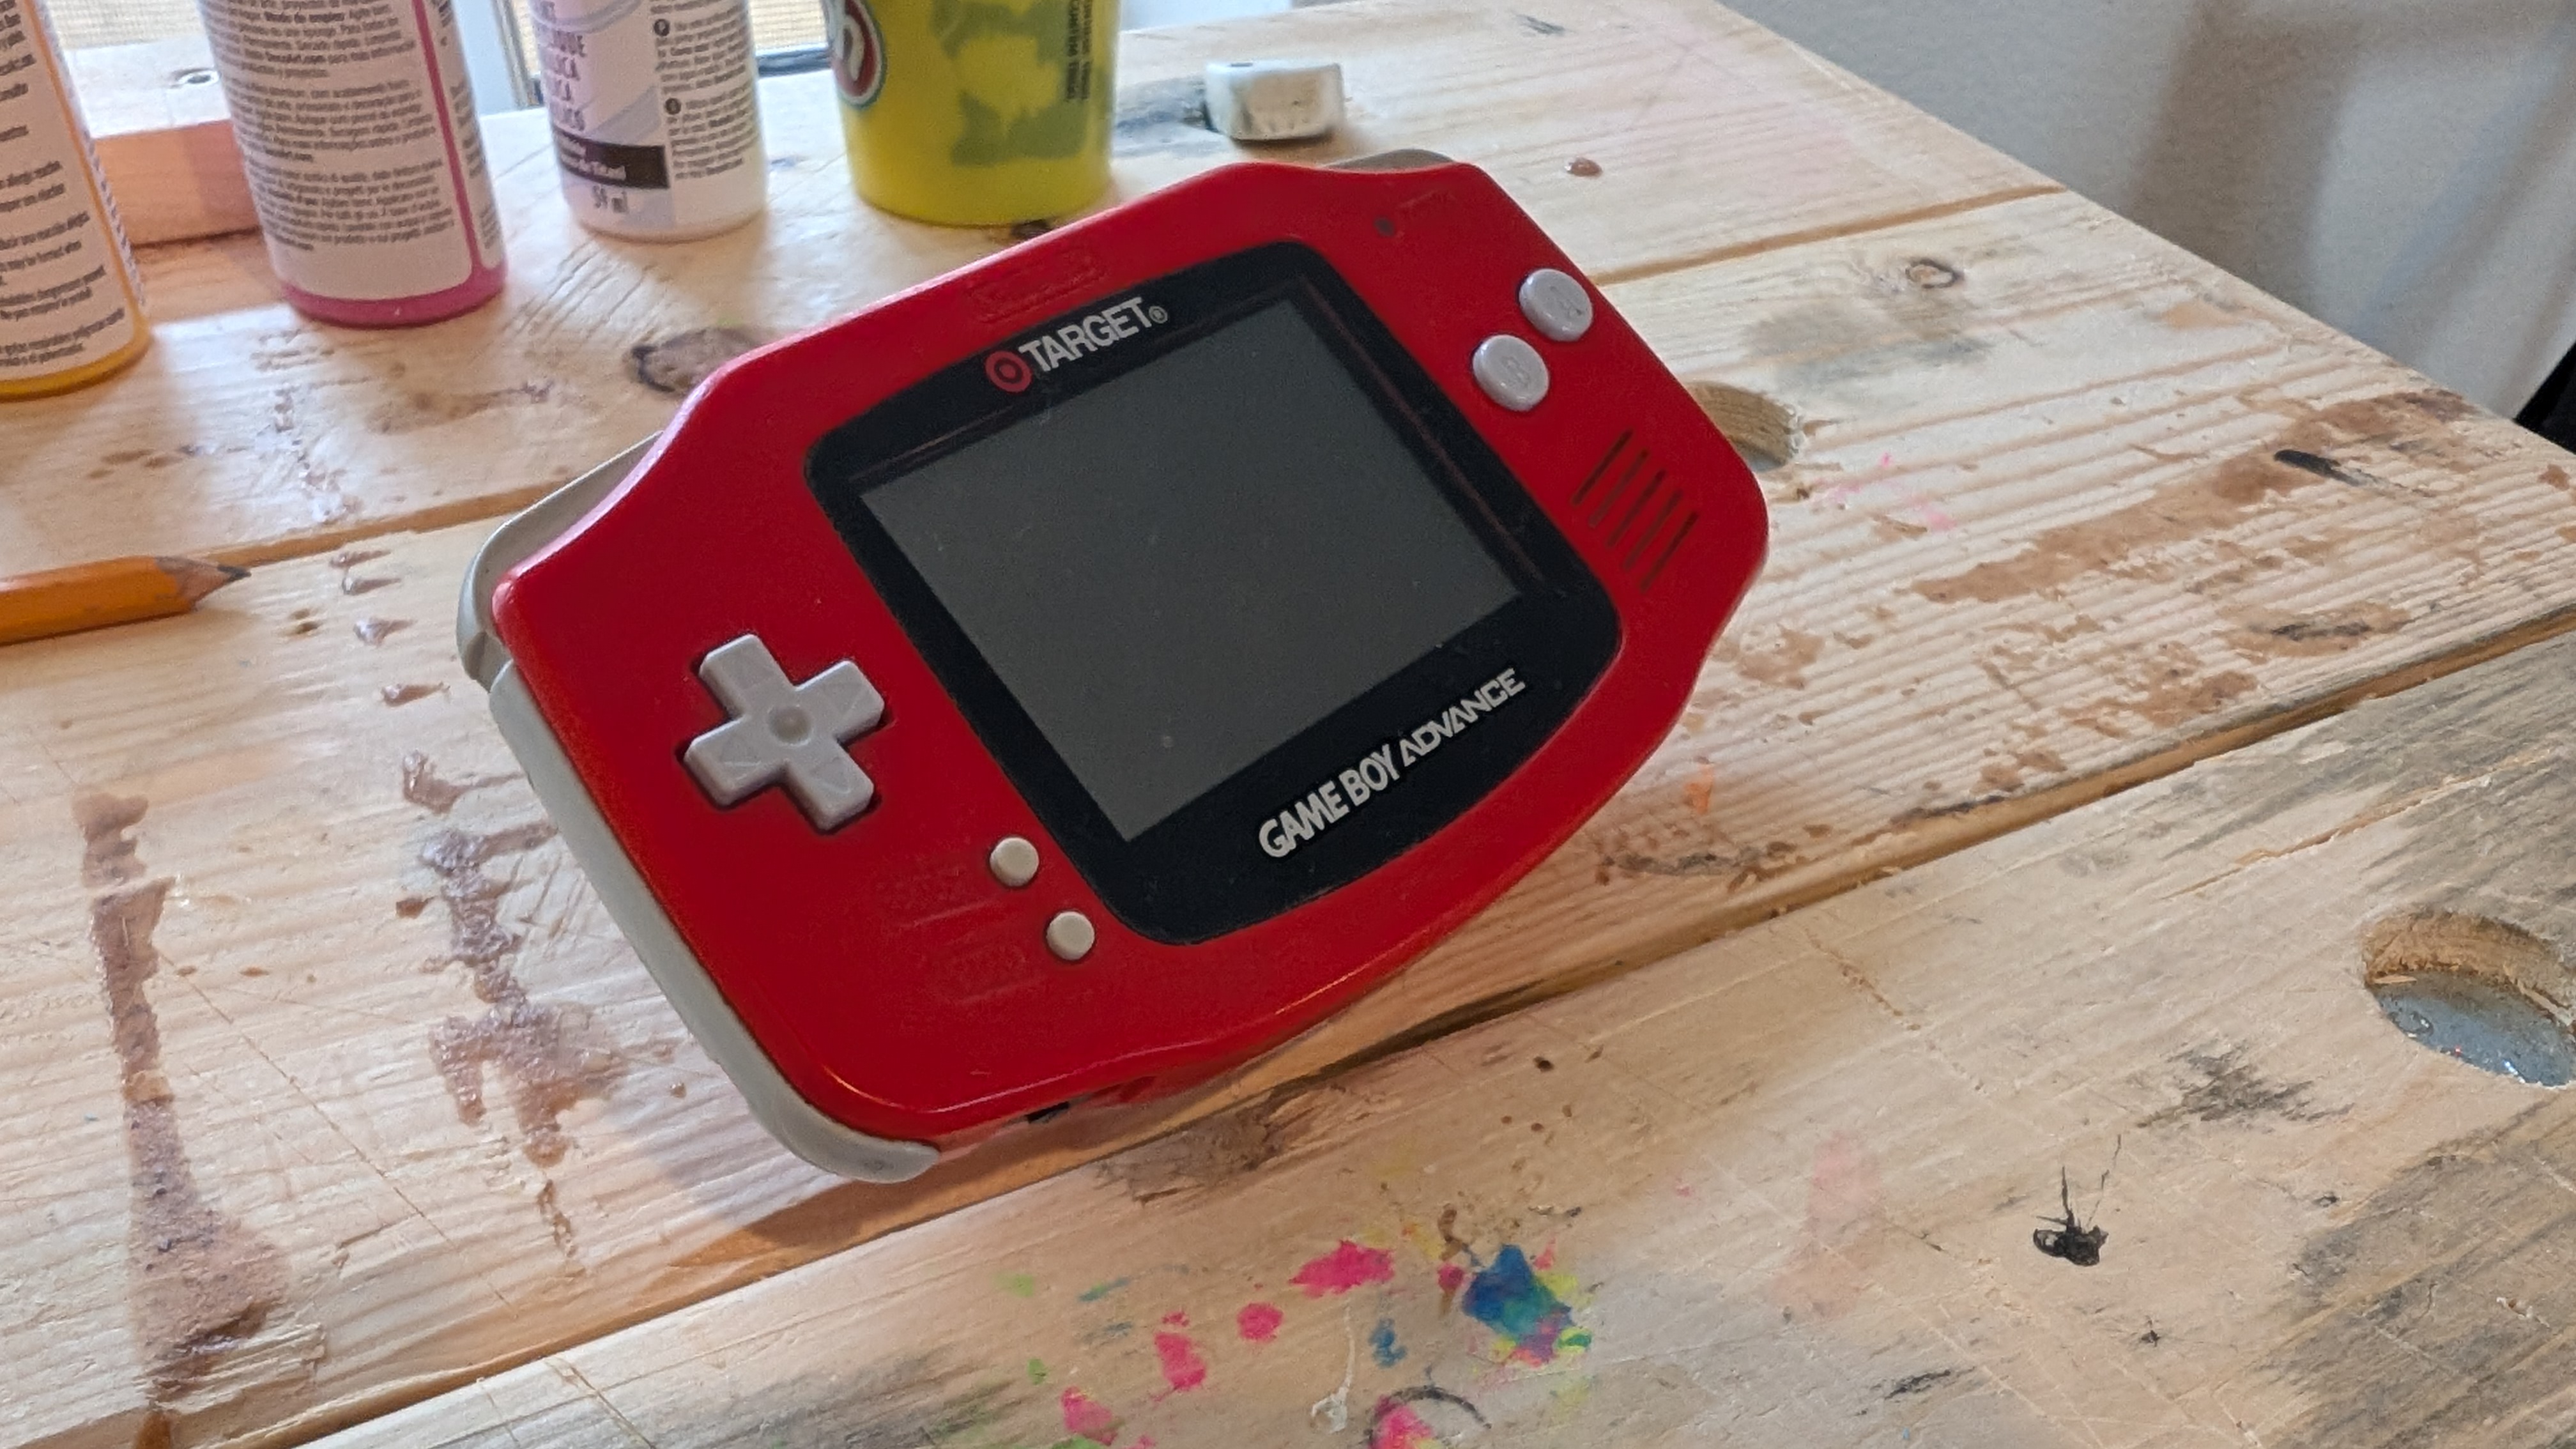
As soon as I turned on the thing though I realized that the total lack of backlight completely sucks. For those that don’t recall how bad, here’s mine before doing any modifying and in the sunlight ;-;
Ignore the custom buttons, this pic was taken during my testing period :3
Opening Up to Replacing the Old and Dull with New and Bright
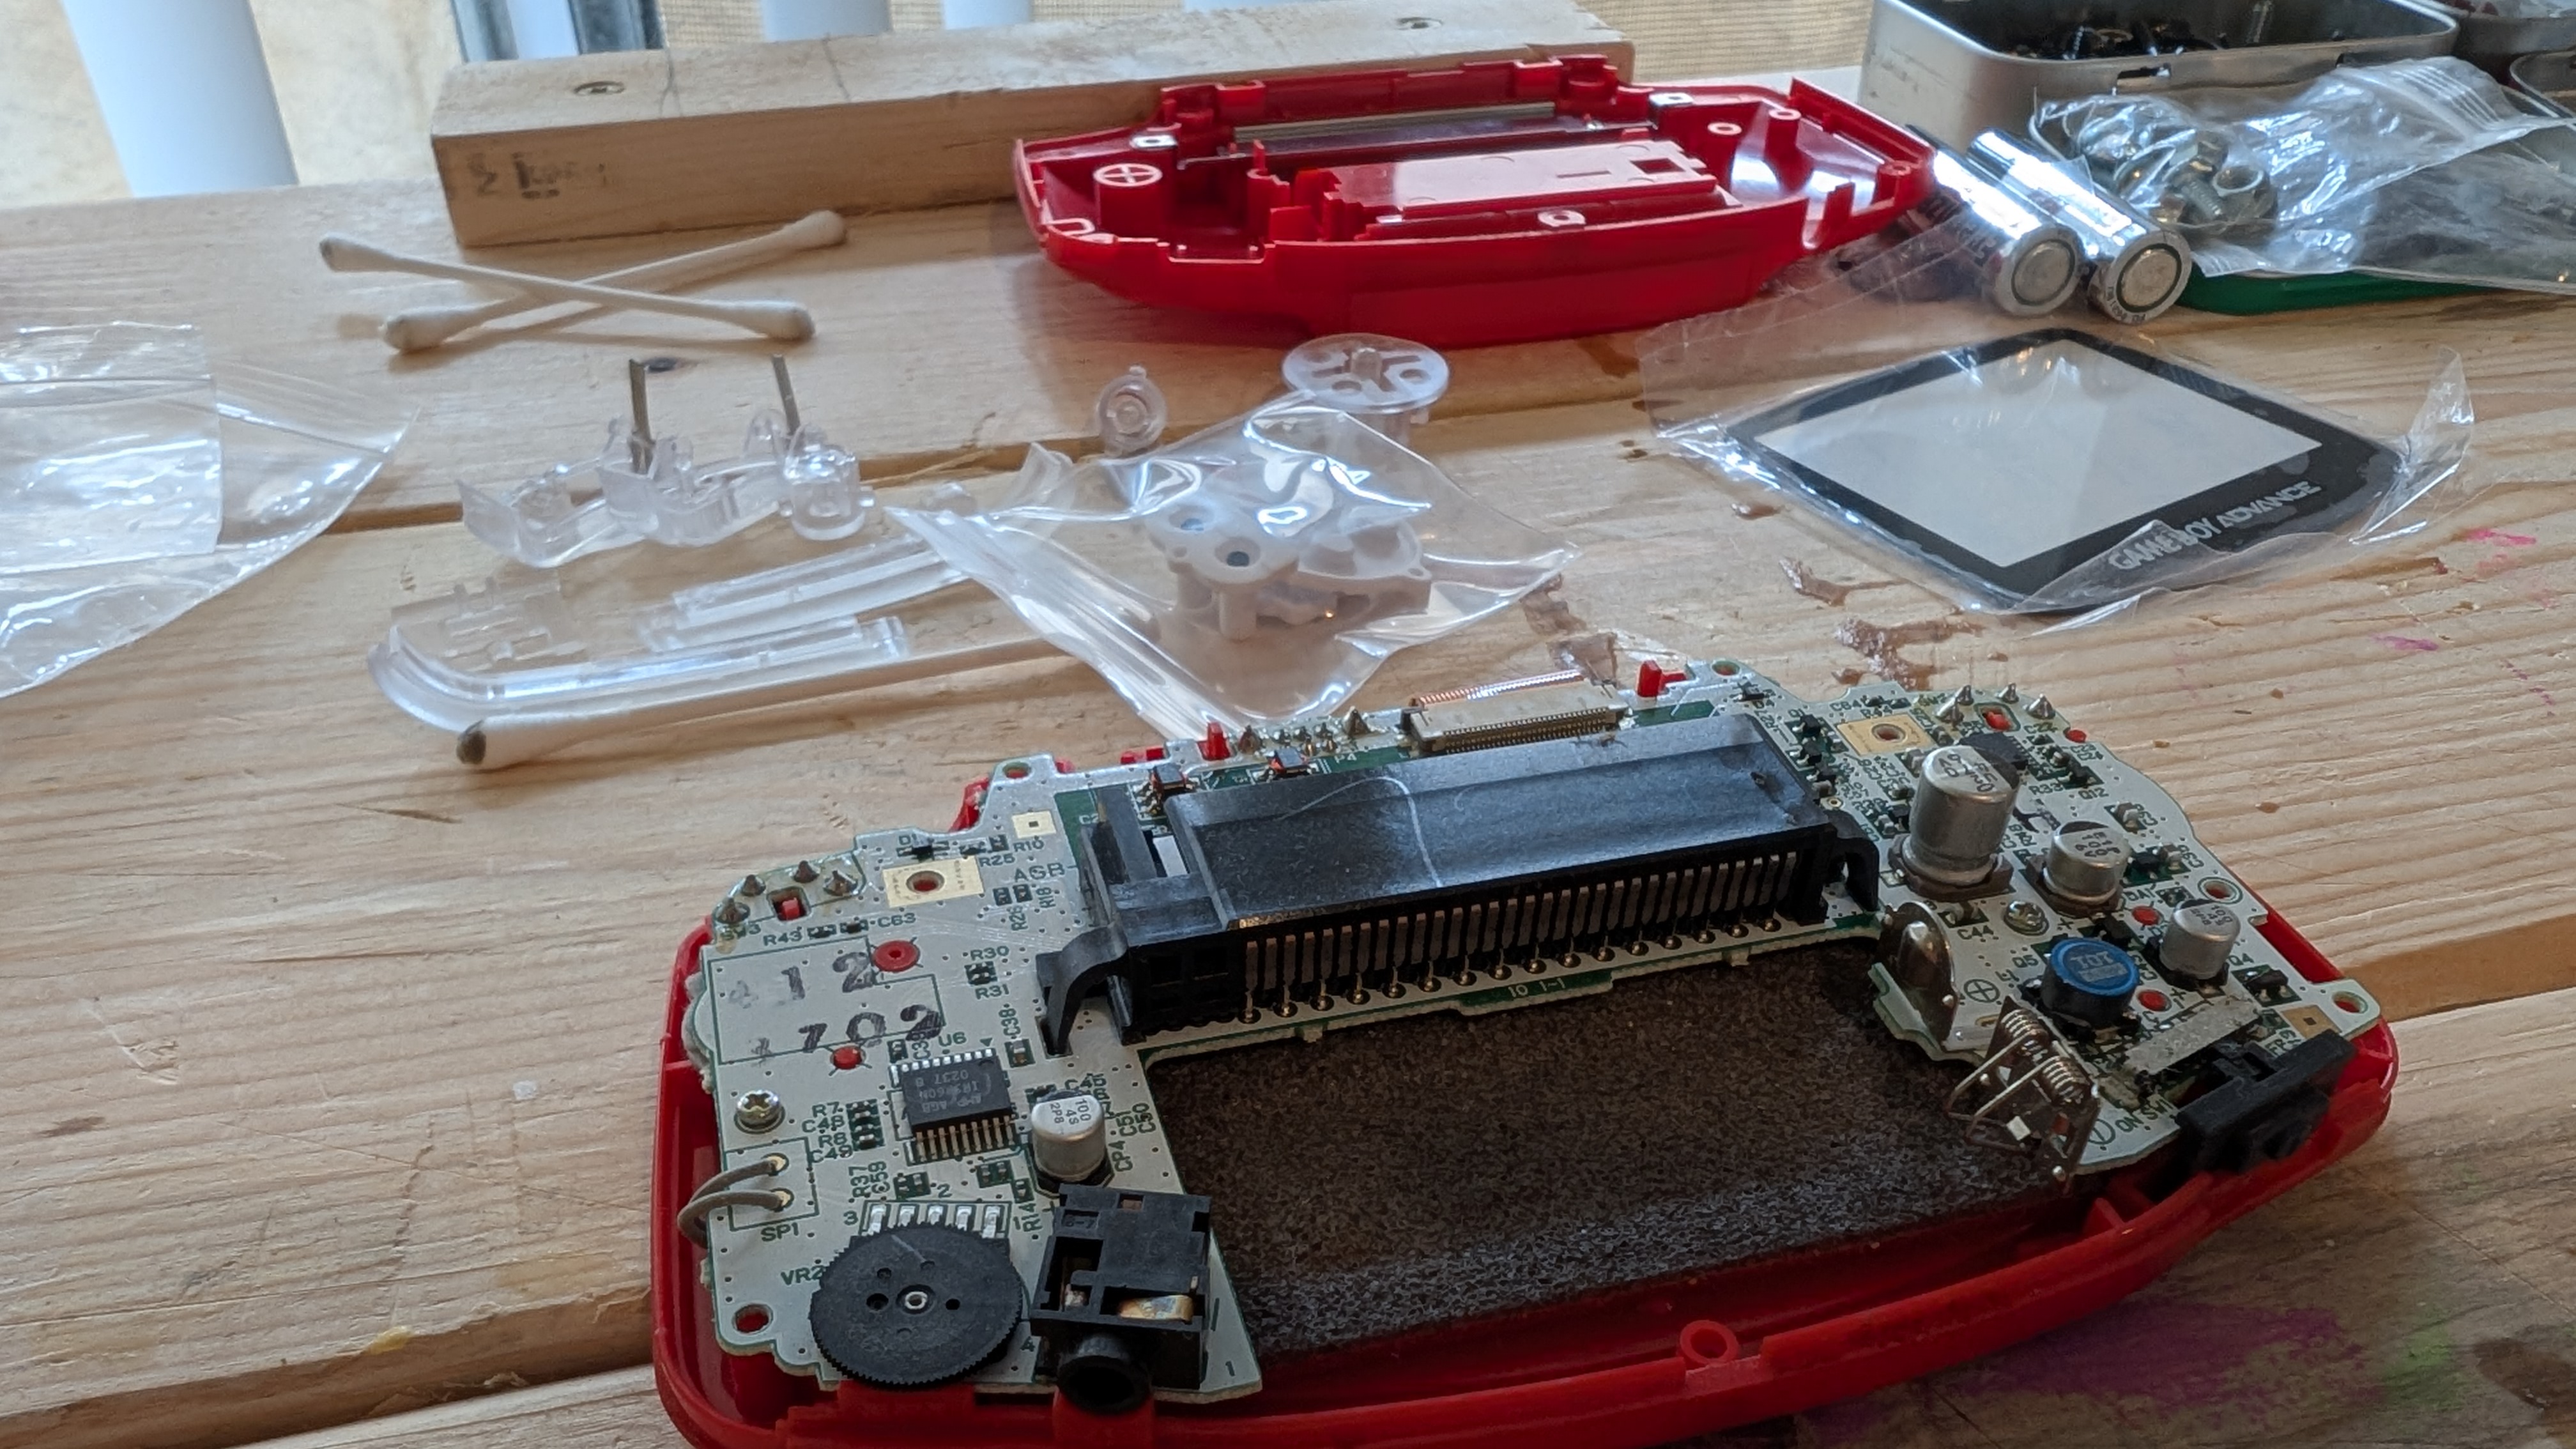
It seems weird in hindsight but I intiall ythought that a backlight mod would require soldering and modifying the original screen when in fact the “easier” way of doing this was just replacing the old screen with a newer more modern one.
The one I picked was the 🔗No Cut IPS Backlight Mod Kit from 🔗Retro Game Repair Shop which is an awesome kit and comes with nearly everything to do this mod. The only thing that it’s missing is a tri-wing screw driver which makes doing this substantially easier. I didn’t have one and thought that Harbor Freight would help me here but as you can see below the tri-wing that you can get required some….. sharpening to make it fit into the tiny screw heads.
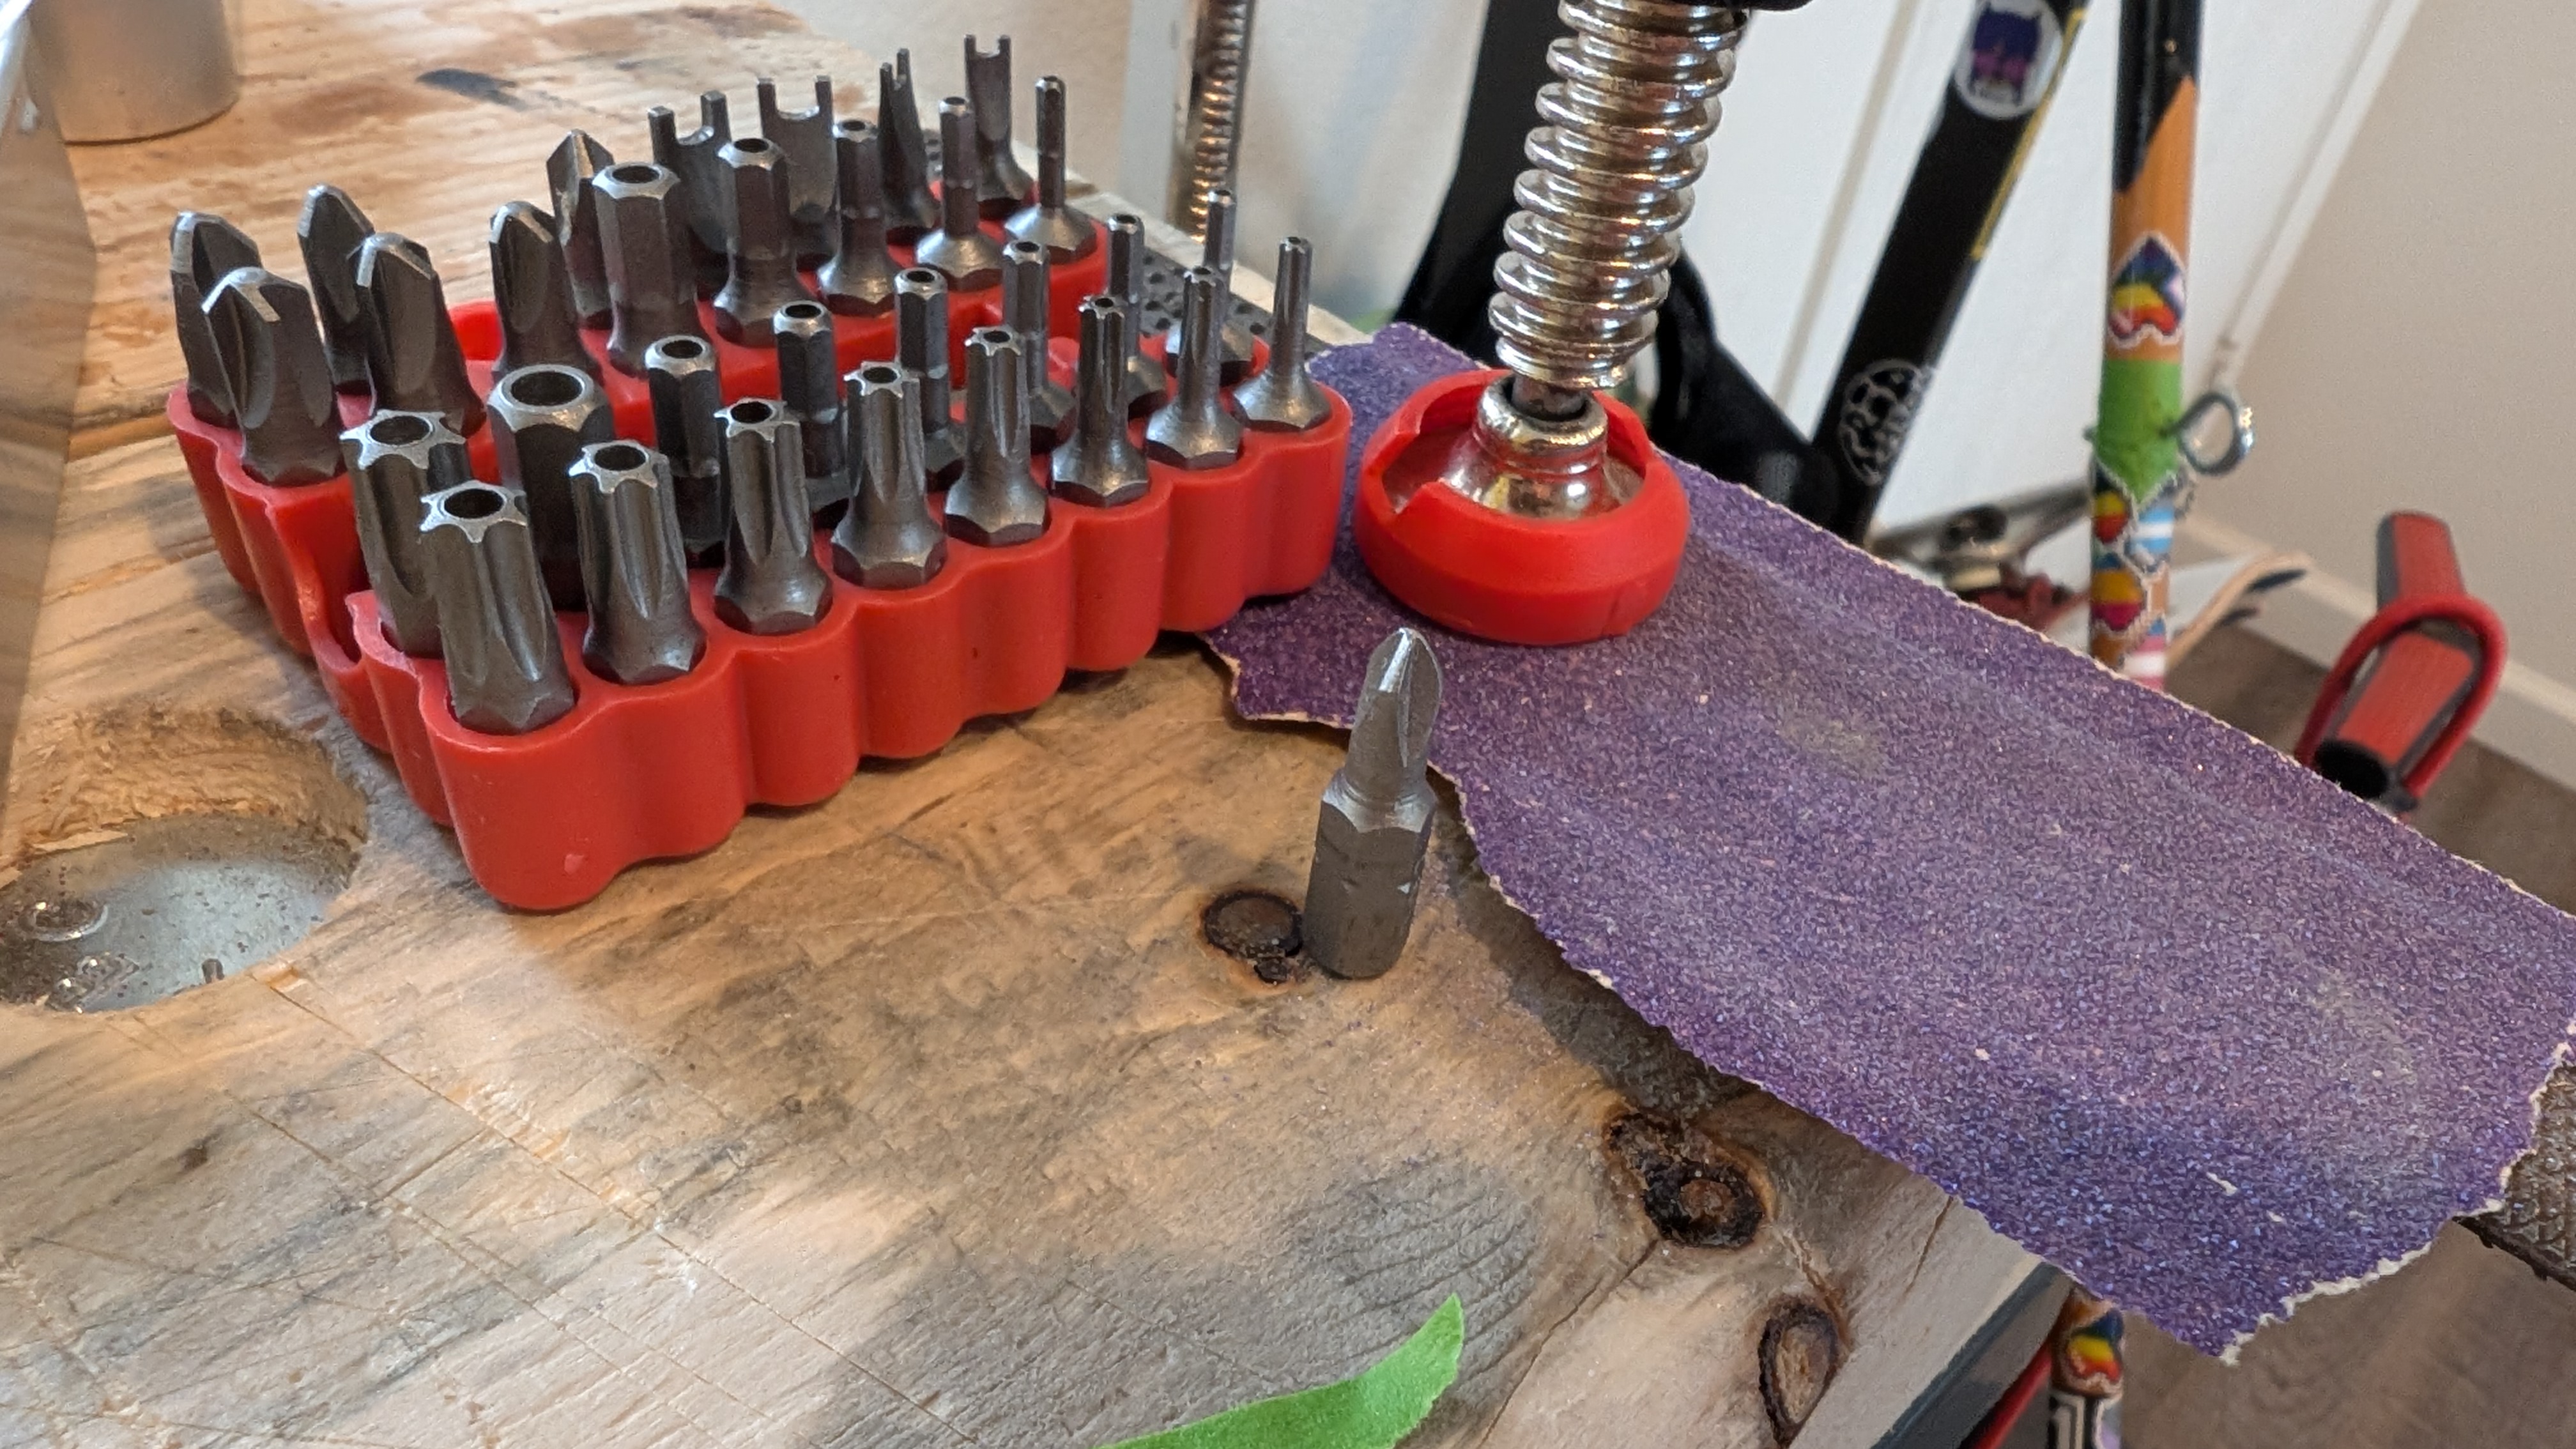
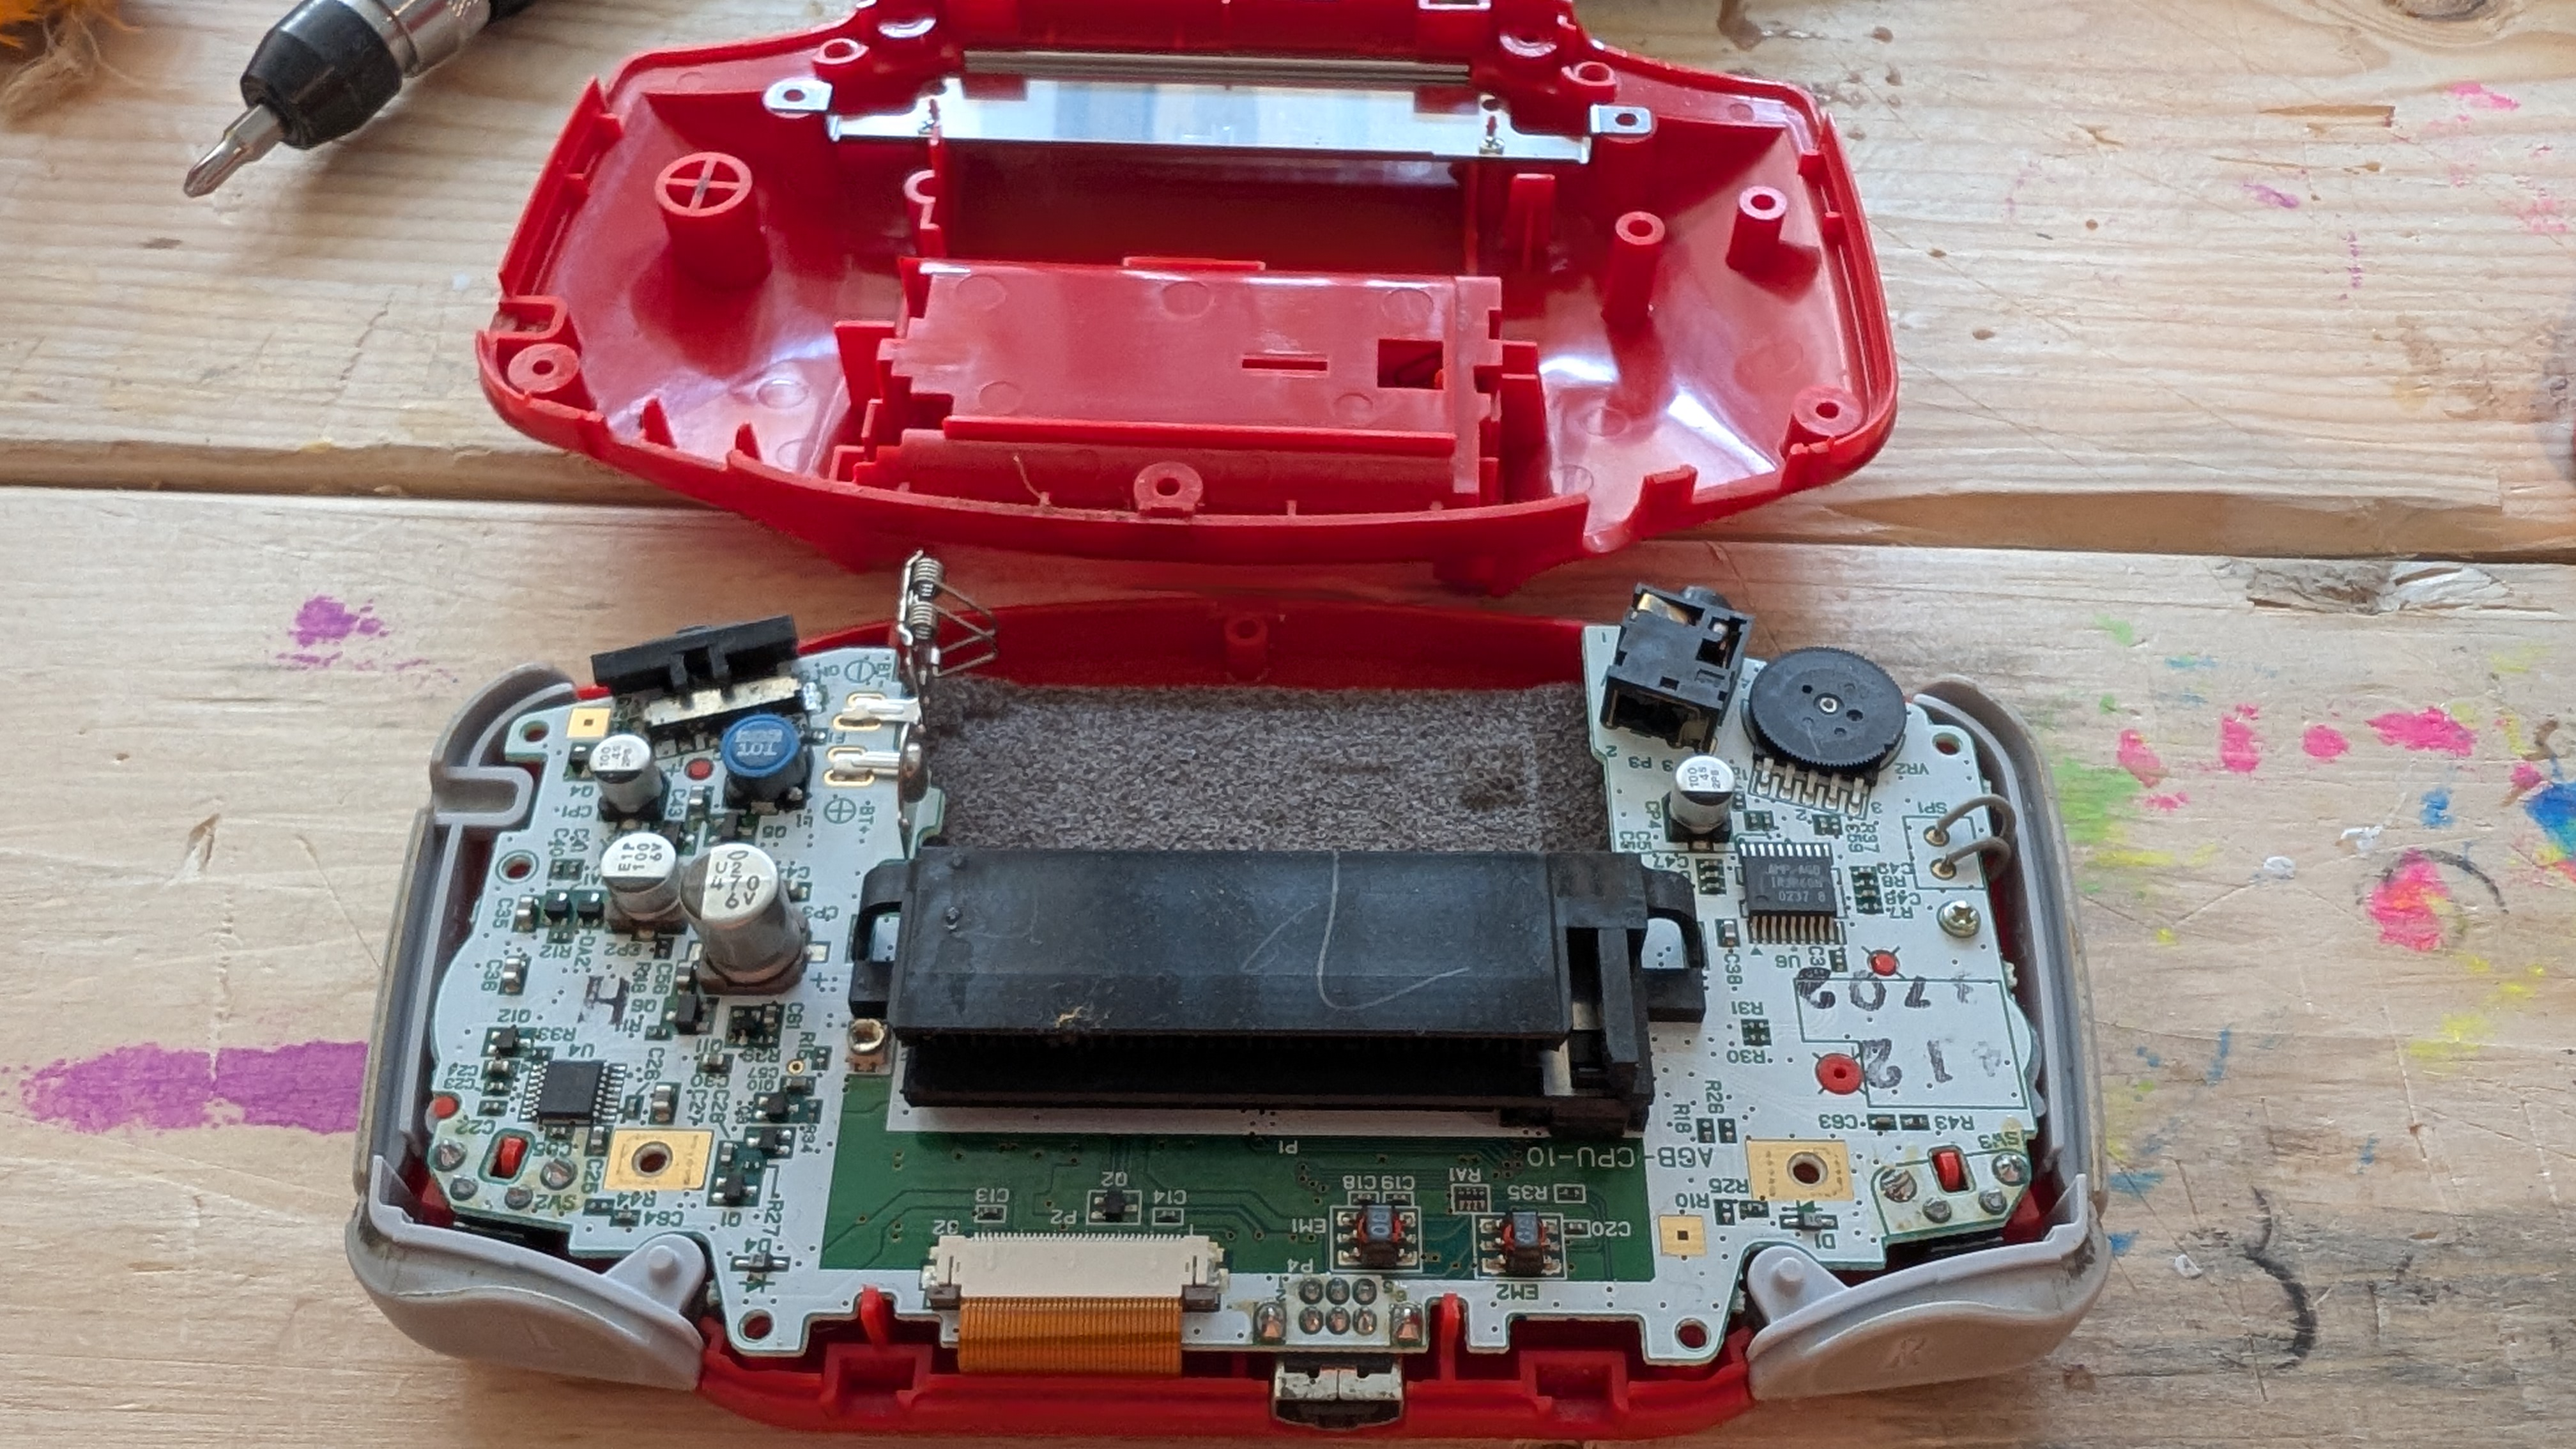
I did manage to sharpen the bit by clamping some 80 grit sandpaper to my workbench and slowly removing material until I had a good enough fit. Luckily once the tri-wing screws holding the case are gone we are greeted with phillips head screws securing the motherboard to the front of the case which are easily removed.
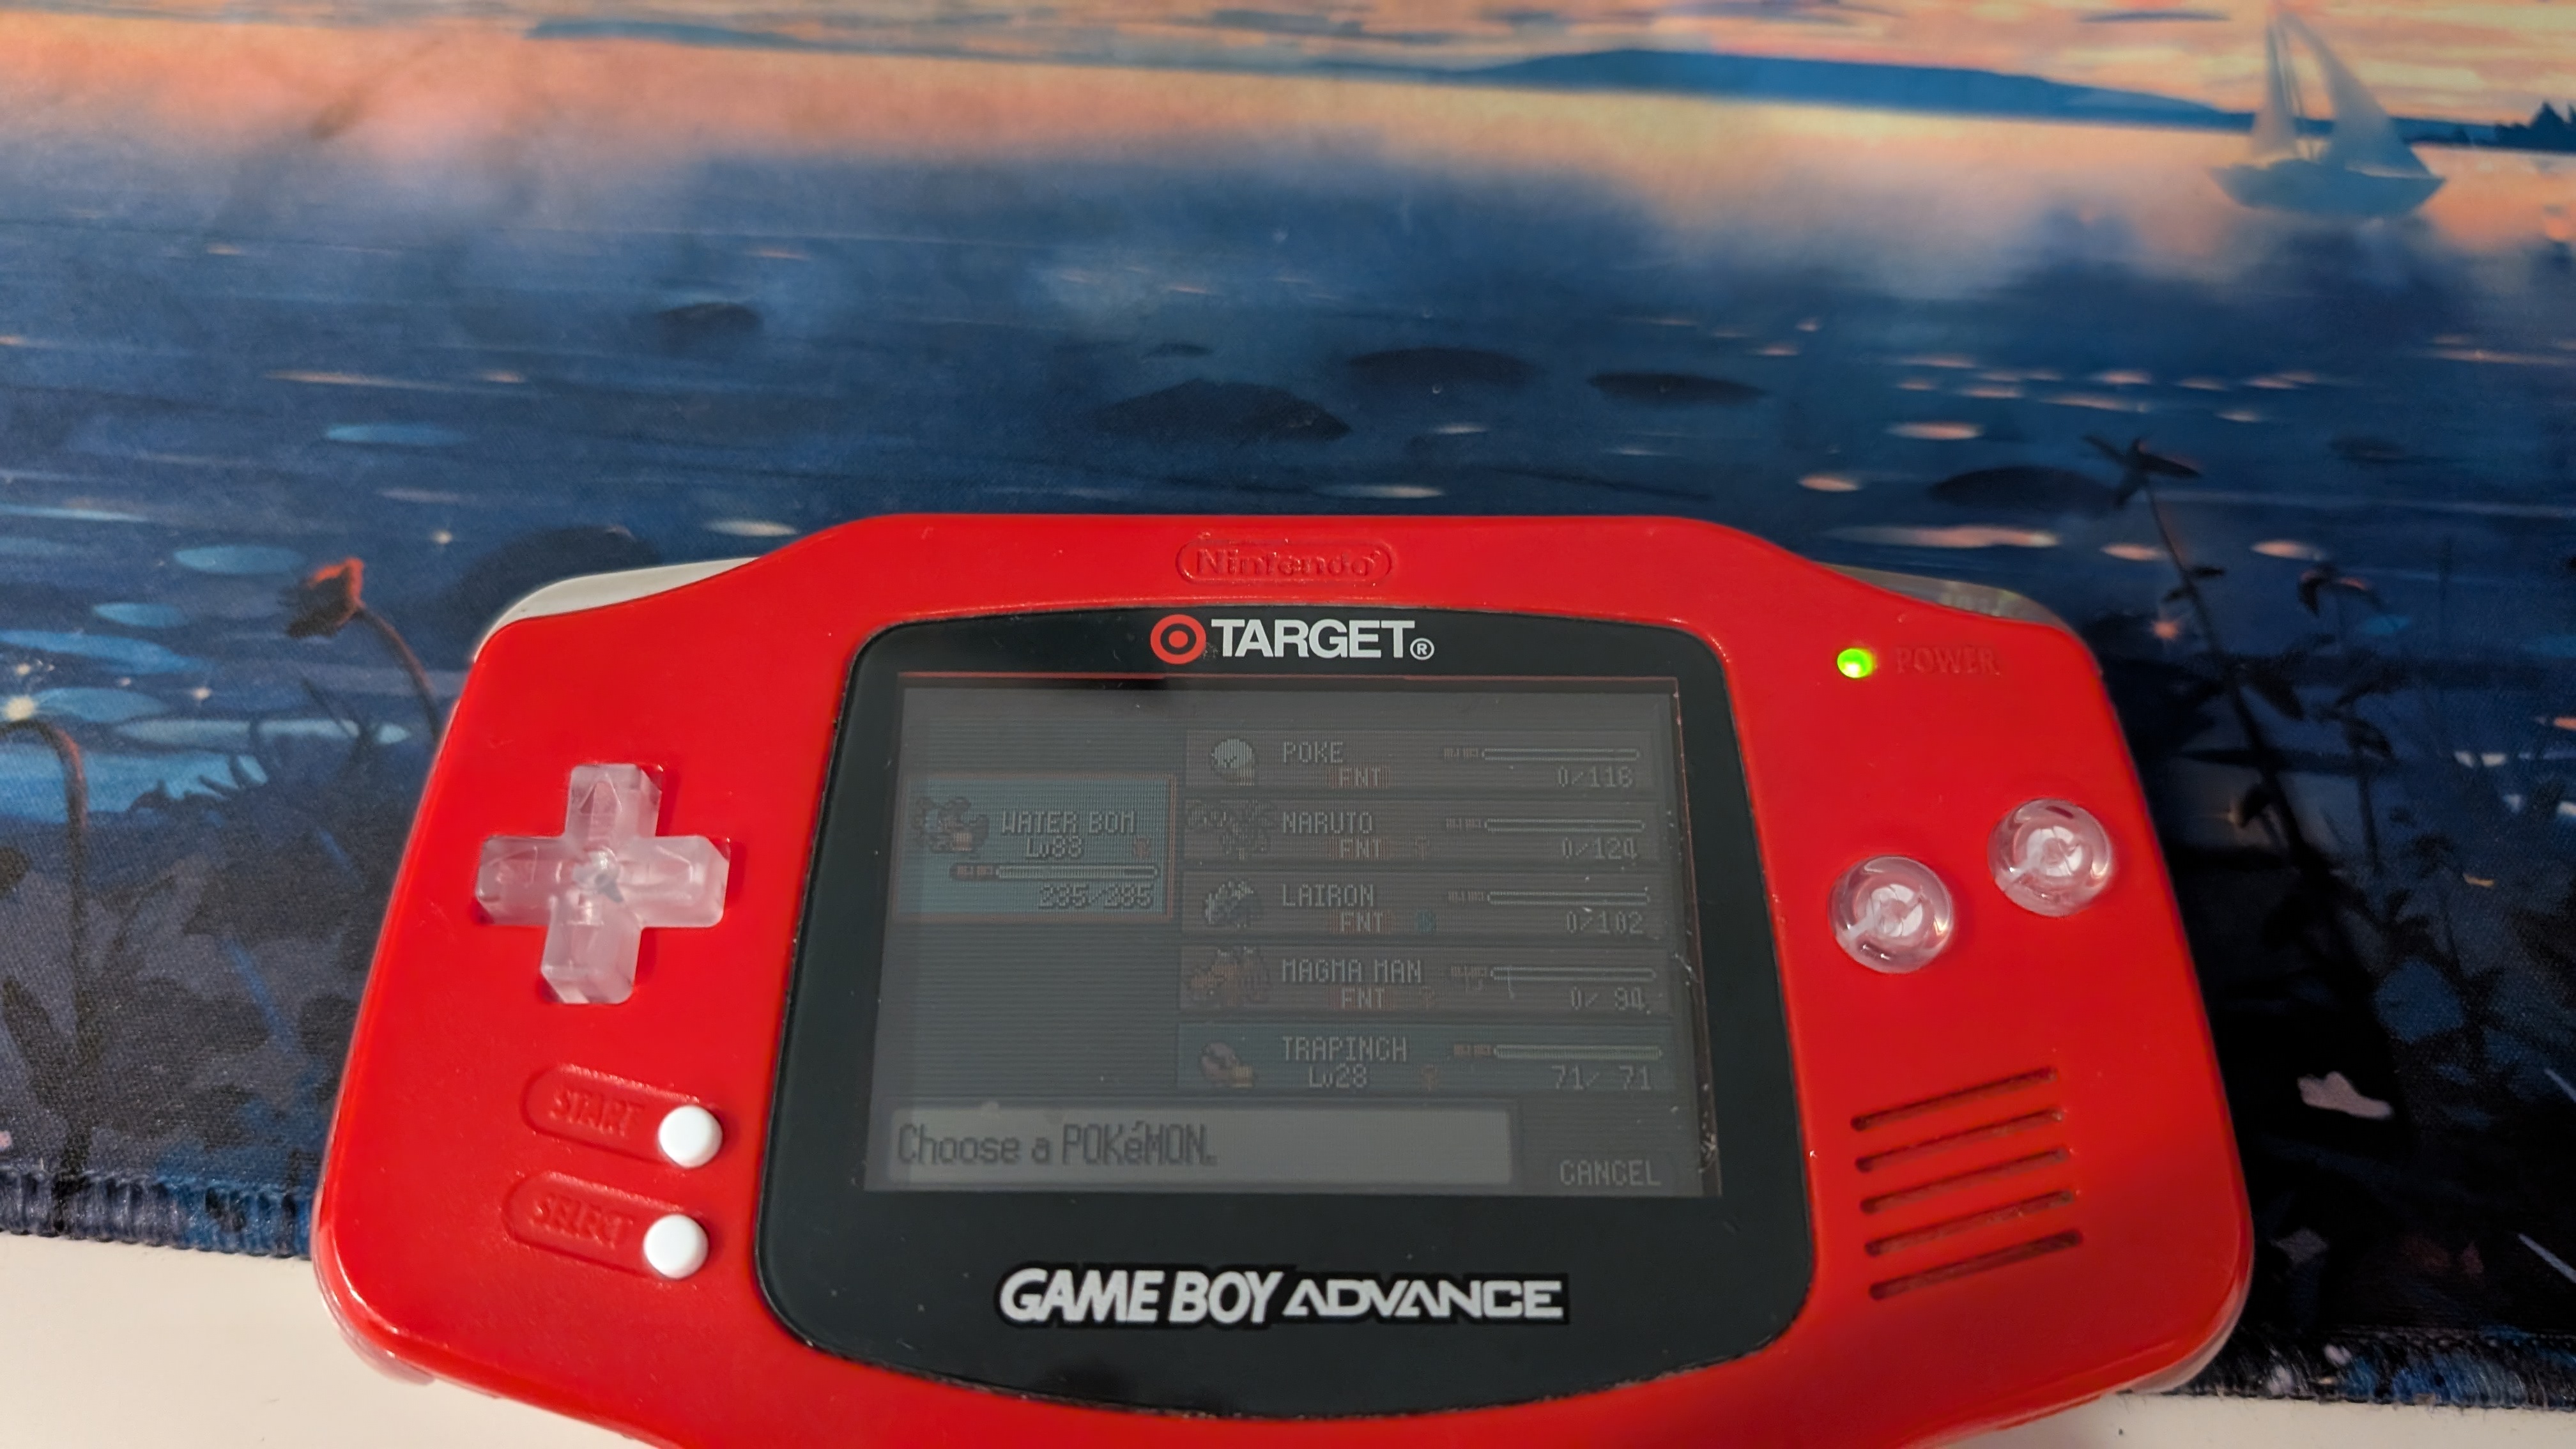
I didn’t get any pictures of the process for replacing the screen but I did get one of the testing phase. ⚠️ Testing ended up being super crucial because the first screen unit I bought was actually DOA. Luckily the second unit was fine and I was also able to get some nicer buttons becaue I ended up not really liking the clear button aesthetic.

Closing everything back up should have been easy though one thing I had to do was shave down some of the after market buttons since they were just barely too big. Other than that however just going slow led to a very smooth re-assembly process. Turning it on I’m greeted with this :)

Also going with black buttons was definitely the move I think because it just looks so much cleaner :3
But of course what good are pictures when you could watch this lovely little thing in action.
conclusion: very nice and epic :3